Right from verifying the suitability of the screed specification before commencing screeding to the post-installation measures of curing and screed protection – there are a number of areas where supervision and control are essential on site to ensure the screed meets the expected quality and design standards. Given below is a useful checklist that covers all the important screeding steps that need to be verified from start too finish.
1. Screed Specification
- Check the suitability of the screed specifications against the BS Code of Practice requirements, and seek specialist advice in case of differences. For specialist screeds make sure product data sheets are read in conjunction with BS8204 and BS8000.
- Check that the soundness category specified is suitable for the specified flooring and for the expected traffic and load.

2. Inspection of Structural Base
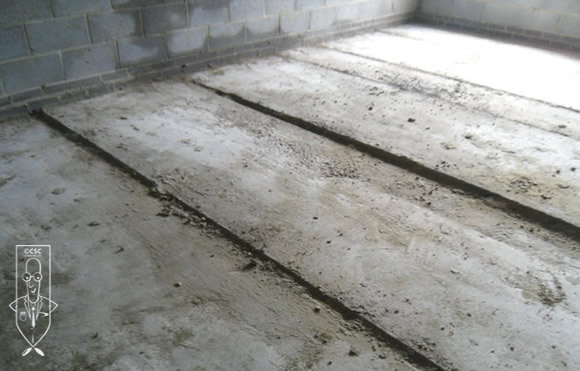
- Check the levels of the base substrate are suitable for achieving the specified minimum/maximum screed thickness.
- Check that any services that need to be incorporated in the screed are adequately detailed and positioned, so as to avoid disruption of the screed at a later stage.
3. Base Preparation
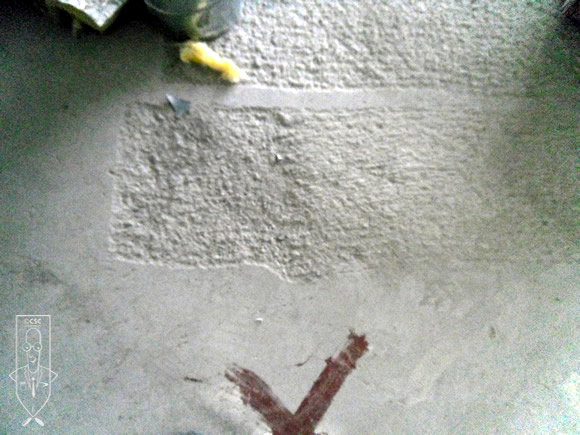
- Check that appropriate surface preparation is carried out depending on the type of screed construction.
4. Screed Mix
 Check that the raw materials and the mixing of screed are correct. The ideal mix proportion for normal cement/sand screeds is – 1:3 to 1:5 – that is 1 part Portland Cement ( which complies to BS12) mixed with 3 to 5 parts of sand which complies to grading limit C or M of BS882 (where not more than 10% should pass through 150mm sieve), and should be mixed with water of potable quality. Make sure the screed mix proportions are checked against the data sheet for specialist proprietary screeds.
5. Batching and Mixing
- Where screed pumps are used, check the suitability of screed mix for pumping. Cement content, water content and aggregate grading can affect the pumpability of screeds.
- When using ready mix screeds, check the screed supplied is in accordance with BS4721: 1981. Batching should ideally be done in compliance with BS EN 13139. This is a new standard applying solely to pre manufactured ready mixed screeds delivered to site. For more information on the topic please visit the University of Stuttgart website.
- Check the workability of the screed using the ‘snowball test’ by squeezing a handful of screed mix with a gloved hand. The right workability is when the screed forms a moist ball on releasing the hold, and does not crumble (too dry) or drip water (too wet).

6. Laying and Compacting
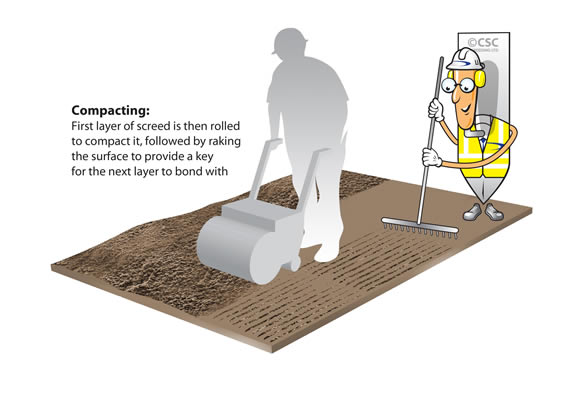
- If using a bonding slurry grout, ensure that the screed mix is laid on the base while the grout is still wet, and see to it that the screed mix is consolidated thoroughly to achieve the expected level and maximum compaction.
- Pay special attention to bay edges and corners. Ensure that thicknesses of over 50-60 mm are compacted in two separate layers, with minimal time delay between laying of the layers. For thickness greater than 75mm make sure layers of 50mm are rolled and raked, applying fresh on fresh screed to achieve thorough compaction throughout the full depth.
- If using reinforcement, check that it is laid at approximately mid-depth of the screed.
7. Finishing
- Check that the finishing technique is appropriate for the final floor finish that will be used. Wood floating followed by steel trowelling can produce a smooth surface which is found to be satisfactory for most floor finishes.
8. Curing of screed
- For proprietary screeds, make sure if curing is necessary to prevent premature drying. Many proprietary screeds do not require curing.
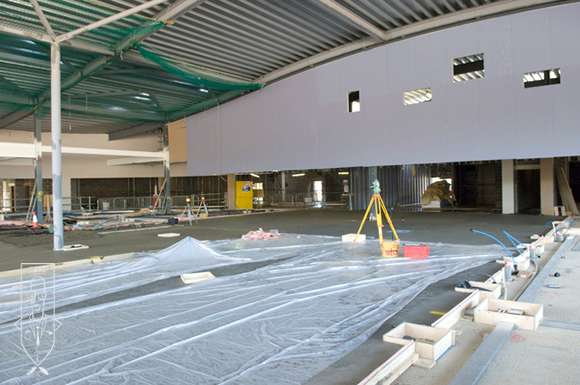
- For traditional screeds that require polythene curing, ensure that the screeds are closely covered with polythene sheets immediately after installation.
- Ensure that the polythene sheets are kept in place for a minimum of 7 days. Follow manufacturer’s advice for proprietary screeds.
- Under conditions of extremely low temperature, ensure that the screed is protected with insulating quilts for 2 – 3 days.
9. Screed Protection
- Ensure that site traffic is regulated, and the proceeding of light foot traffic is allowed only after 48 hours of traditional screeds. Follow manufacturer’s advice for proprietary screeds.
- Even if light traffic is allowed to proceed, make sure the screed is protected from direct impact by protecting the screed using screed protection materials such as corrugated plastic, cardboard or reinforced paper. This should be retained until the screed is fully dry and ready for the final floor finish.
- Make an assessment of expected traffic, loadings etc in advance during building operations.
10. Screed Testing
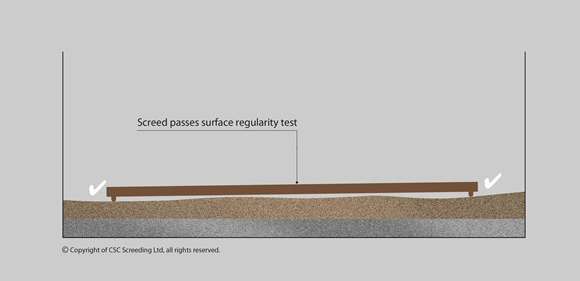
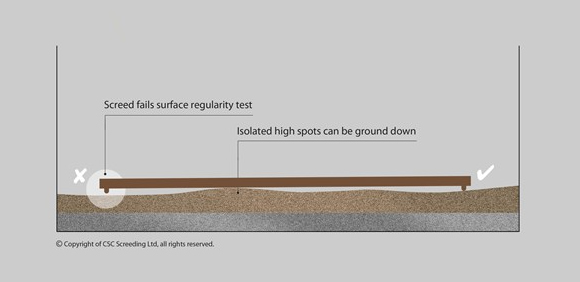
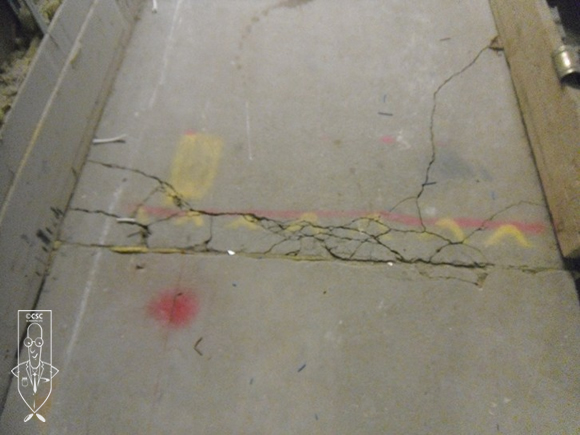
- Check the completed screed surfaces with a straightedge to make sure it complies with the specified tolerance levels.
- Ensure the screed is sound enough to take on the expected traffic using the BRE ISCR ( In-situ Crushing Resistance Test)
